Can you brighten a video losslessly?
No. Brightening changes the pixels, so the video must be re-encoded. What you can do is keep the loss invisible: a moderate correction, Quality set to High and a single export from the original file.
Free · runs in your browser
Brightening always means re-encoding, but the loss can be made invisible. Here is what affects quality, and the settings that keep a brightened clip clean.
To brighten a video with the least possible quality loss, open it above, make a moderate correction (Auto brighten or a quick fix, with Strength no higher than it needs to be), then under Export settings keep the original Size and set Quality to High before you select Export video. Brightening is done in floating point on your device and encoded once, at a generous bitrate.
It isn’t possible to brighten a video losslessly. Unlike trimming or rotating, which can copy the compressed data untouched, brightening changes every pixel of every frame, so the video has to be decoded and encoded again. The question is whether that second encode, and the brightening itself, cost anything you can see.
Use the highest-quality copy you have: the file from the camera or phone, not one that has been through a messaging app or social network.
Press Auto brighten or a quick fix, then keep Strength at the lowest level that looks right. Each extra stop of lift magnifies noise and compression damage.
If shadows are speckled, add a little Noise reduction under More options. Too much removes texture and makes banding easier to see.
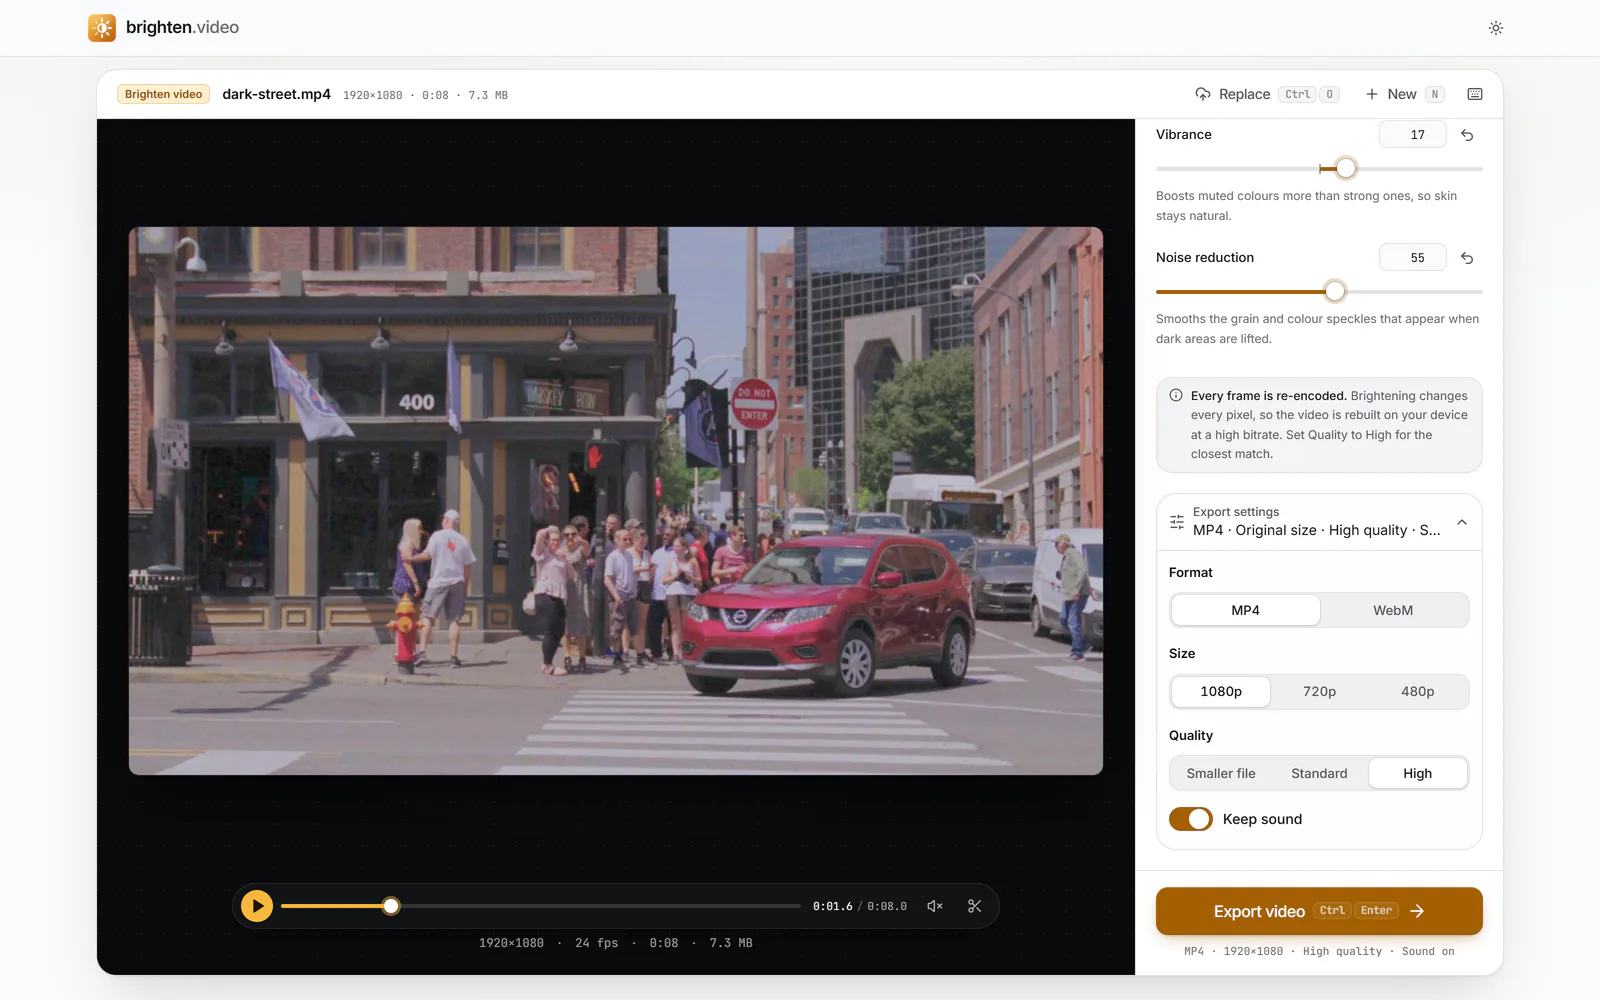
Open Export settings: leave Size on the first option, which is your video’s own resolution (1080p for a 1080p clip), set Quality to High, and choose MP4 for the widest compatibility.
 (enlarge image)
Under Export settings, keep the original size (here 1080p) and choose High quality.
Select Export video. If you need changes, use Adjust again to go back to the same source file, rather than brightening an already brightened copy.
Most of the damage happened before you opened the file. A dark phone video is usually 8-bit, with only a small number of levels used by the shadows, and its encoder spent few bits on dark areas because viewers rarely notice detail there. That is the material you are stretching.
Stretching tones spreads those few shadow levels apart. Smooth gradients can show visible steps (banding), and noise becomes more obvious. Good maths limits the damage: here the grading runs in floating point on the GPU and quantises only once at the end, and the curves are designed with finite slopes at black so they don’t explode noise in the deepest shadows.
Finally the brightened frames are encoded again. Brightened footage contains more visible detail and grain than the dark original, so it needs more bitrate to stay clean; this tool raises its bitrate for that reason, and the High quality setting raises it again.
An 8-bit file has 256 levels per channel, and a dark clip might use only 30 or 40 of them for most of the picture. Brighten it by two stops and those levels are spread across a range that would normally hold well over a hundred, so gradients can look stepped. Two things help: keep the lift moderate, and let some grain stay, because grain dithers the steps and makes them less visible. That is why noise reduction here is deliberately gentle and focused on colour speckle.
The export is 8-bit as well, which is what phones, browsers and social networks expect. If you need 10-bit masters for broadcast or further grading, use a desktop grading tool such as DaVinci Resolve.
Judge quality at the size people will watch at. Use Before and after to compare, and look at a dark wall or sky for banding and at faces for noise. The underexposure page explains how to read the Histogram and Waveform so you can see when you’re pushing a clip too far.
No. Brightening changes the pixels, so the video must be re-encoded. What you can do is keep the loss invisible: a moderate correction, Quality set to High and a single export from the original file.
Brightened footage has more visible texture and grain, which takes more bits to encode cleanly, and the High setting uses a higher bitrate. Choose Standard or Smaller file if size matters more.
The original file had very few levels in those dark gradients, and brightening spreads them apart. Reduce Strength, avoid heavy noise reduction, and move Blacks a little to the left so very dark areas stay black.
Only if you choose a smaller Size under Export settings. By default the export keeps the original width and height.
The audio is kept with the video. It isn’t brightened or changed, and you can drop it with Keep sound.
An editor helps when you need 10-bit or log workflows, multiple clips or precise masks. For a single clip to share, the result here is comparable, quicker and private. See the Premiere Pro guide for that route.